Admin
Admin

Posts : 273
Join date : 2013-05-16
Age : 73
Location : Brighton, Victoria
 | Subject: Dodge WC 54 Radio Truck  Mon May 20 2013, 14:07 Mon May 20 2013, 14:07 | |
| This is a PHOTO ESSAY:
This 35 scale vehicle is a kit bashed marriage between the Skybow WC 51 Weapons Carrier and the Italeri WC 54 Ambulance kits, all very well saying they will fir together, but it was not to be that simple.
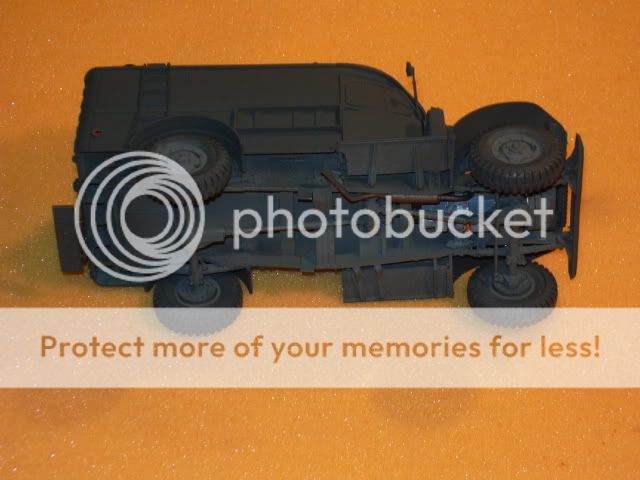
Firstly I removed the floor plate from the Ambulance kit, while constructing the chassis of the Weapons Carrier and constantly checking the progress of fit along the way. Weathering on this build is Tamiya Acrylic Buff sprayed several times onto the model as a wash, as my subject was that of an AIF Division in the Islands of the Southwest Pacific.
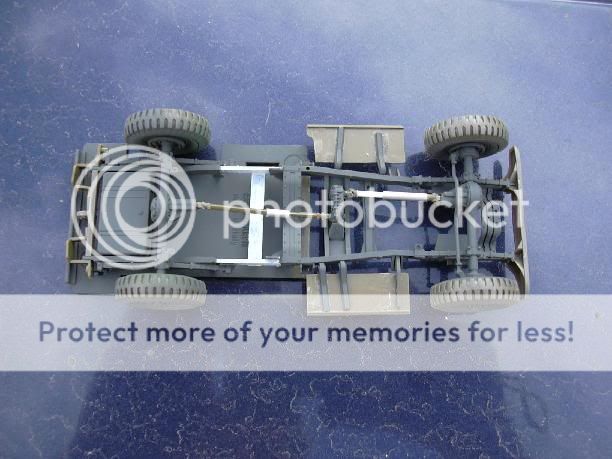
This photo shows the extension of the chassis which is Evergreen beam, as well as the extension of the drive shaft to the front axle.
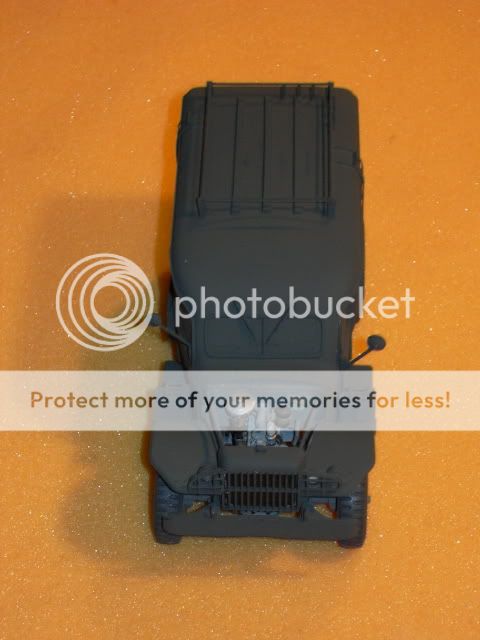
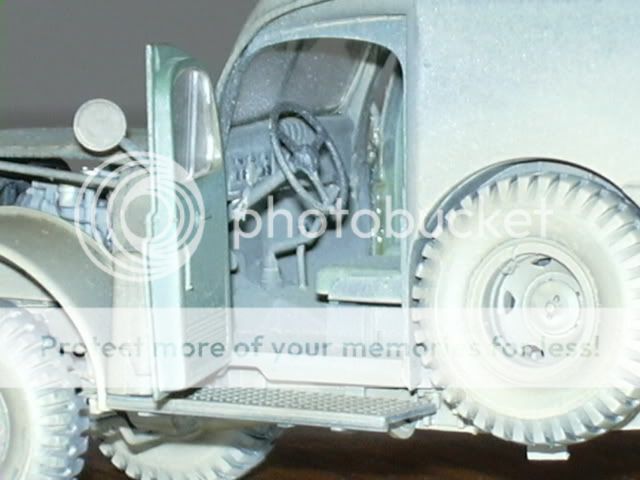
Having now completed the chassis build it was time to marry the forward cabin section of the Ambulance kit, too the chassis frame and test fit the rear floor plate.
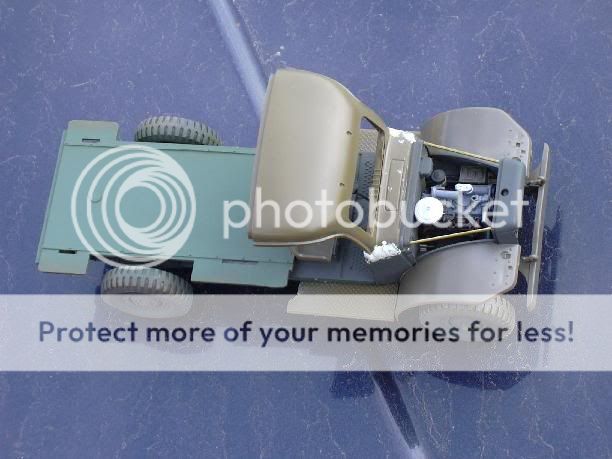
This photo shows the forward cabin fixed in place and the test fitting of the rear floor plate.
As well as the brass rod braces, which act as the hood supports as well as the radiator shroud.
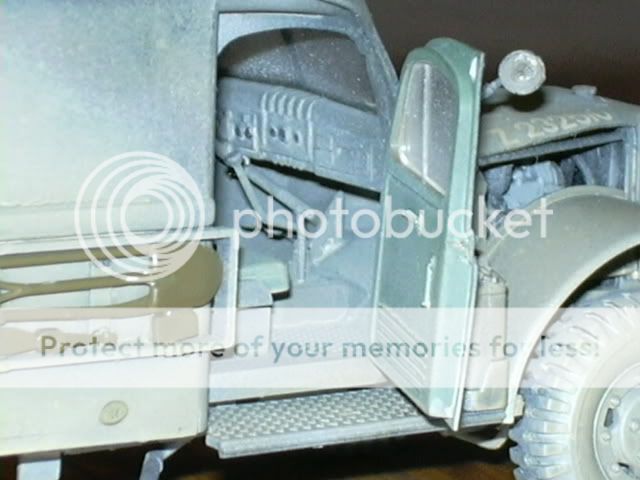
Having secured the cabin it was time to move onto building the rear body and test fitting the doors along the way, {as I wanted to display this subject with the doors open}.
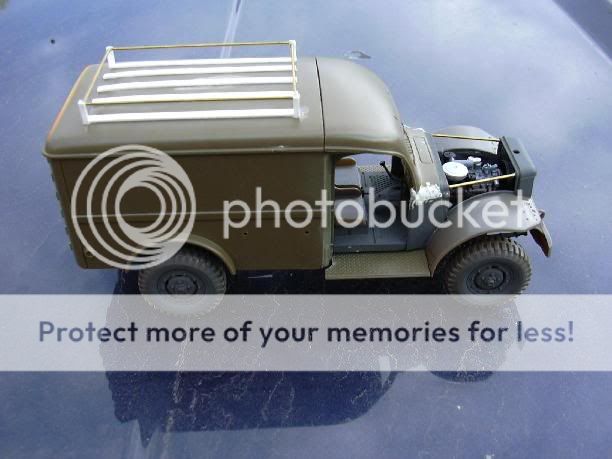
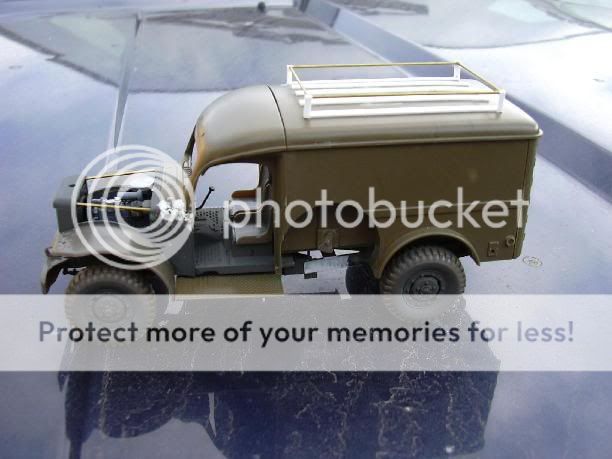
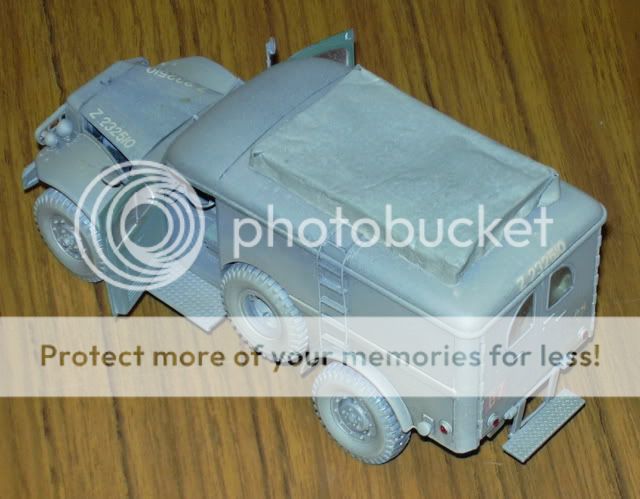
These photo's show either side of the completed rear body fitted to the chassis and the scratch built roof rack.
Made from Evergreen angle, stripes and brass wire.
The next stage was how do I make a canvas looking cover for the roof rack. The answer was simple, used the lead foil from a wine bottle.
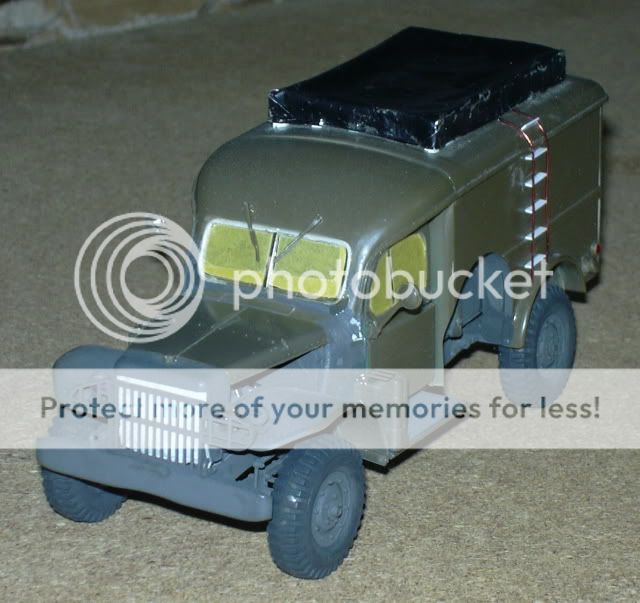
A view of the canvas covering. And the masked off radiator area and window frames.
The painted model.
Now was time to make up the engine hood, this presented a problem, the Weapons Carrier hood was flat at each end, the Ambulance hood was slightly arched at each end.
So solution was a piece of thin lead sheet and once trimmed was pressed over the firewall frame and the opposite end was pressed over the radiator shroud and fitted into place.
Add the decals for registration, unit and division to the model subject.
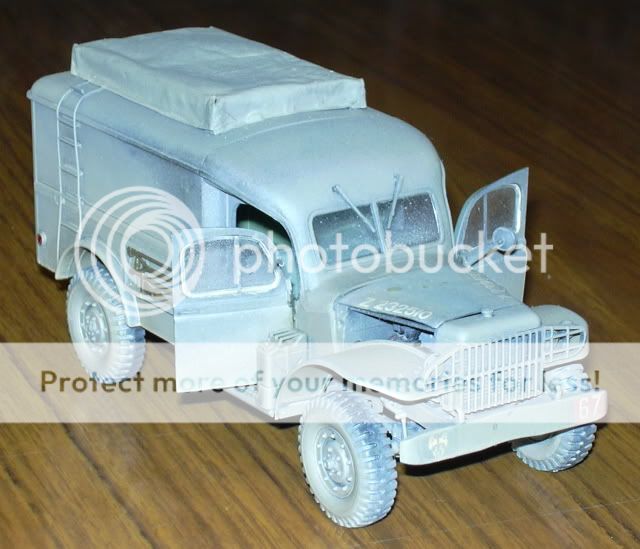

The finished model.
| |
|
